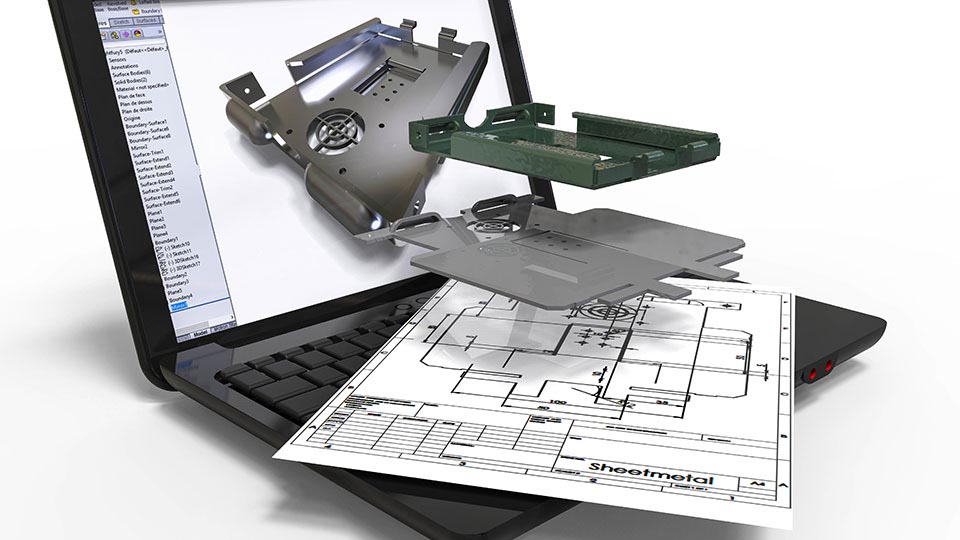
Getting nesting software to talk to your 3D cad software can be a challenge. Once an integration has taken place, there is often a need for small design changes. After making the design changes many designers forget to acknowledge the impact of their alterations. On top of that, many companies don’t review or question their designers work because they operate under the notion that the designer is king. Ignoring the changes can have a disastrous effect on your production process. Many of these integrations heavily rely on the 3D CAD API and design intent of the 3D model; therefore, not acknowledging design changes would affect the nesting software’s ability to fully understand what you are trying to create. To make your integration smoother after design changes, avoid these 4 common mistakes:
1. Designing in a Multibody Environment
Multibody design can be an amazing thing. There are simply less files to worry about, revision control is nice, and files are easy to share across networks. Designers need to be aware of the limitations of multibody design. One big drawback is that you do not have access to grain information. In a 3D “workspace” you can only specify one coordinate system. This coordinate system tells the software which direction the geometry is orientated — X, Y or Z. This occurs on a part level and is not connected to the individual bodies within it. In the sheet metal world, grain is usually measured in the X and Y direction. Since multibody parts have multiple bodies in different directions and only one coordinate system this concept simply does not work. In today’s design environment, users must consider the regular assembly design if they desire automation between software. Otherwise it’s going to be a manual process which will cost you more money and man hours.
2. Calling Support Too Soon
Before you call support with new issues, let’s take a step back and assess the situation. Not all nesting solutions have the same capabilities, which is also the same for importing 3D files. Some nesting packages will only import geometry, leaving out other desired features like material, thickness and quantity. Let’s take it to the next level. Maybe a user needs custom part properties and to exclude/include parts, or sub-assemblies or even multibody items. Maybe a user needs a specific configuration of a file. Perhaps a user needs to create a BOM and create a work order at the same time while excluding specific geometry and making sure the correct configuration imports. Wow, suddenly we have a lot of things going on. Hopefully, you get the idea, the more settings you add the longer it will take to process. Also, make sure you fully understand the settings you are using, in many cases you might not be using them correctly. Which could result in longer processing times. Our suggestion is to read the help file and then call support with questions.
3. Importing Large Part Assemblies
While importing large assemblies is a valid workflow, it isn’t the most efficient way to get the job done. Assuming all the parts are valid flat parts, your processing time could be 20 minutes or more. The question you need to ask yourself is “How much are you paying someone to sit there and watch a computer process?” Some nesting companies offer batch import solutions. If you find yourself with large assemblies with a nesting solution but no batch support, you should probably jump ship. The lack of batch support is costing your company a tremendous amount of time and money. Batch processes can be running on servers or overnight which could save you time and money. Additionally, if you are using a PDM system a nesting solution can automatically import parts based on the release status of the file.
4. Rushing Design Intent
Every designer is guilty of this on some level. Trying to rush something out to the shop floor in order to get it manufactured on time. Let’s consider this basic scenario. You are working on a cabinet and instead of using the mirror function on the left panel to make the right panel, you copy the left panel to make the right panel. These panels have multi depth holes on the far side and through holes. You send this to the nesting person, and they import the part/assembly. They see “Part A” with a quantity of 2. They proceed to nest the parts and sends the program to the router. Once the part is cut it will probably go through a few other operations like painting. In many cases your error is not caught until the quality assurance phase. The CAD designer did not Mirror the left panel; therefore, the nesting software did not recognize that the parts are different. Design intent can be the difference between making or losing money on each order. A good nesting solution will consider your design intent when importing. In addition, you may want to consider how you could improve your design intent to better complement your nesting solution, doing so could reduce processing time and place more money in your pocket.
Let SigmaNEST show you how easy integration can be by requesting a demo today!